Get Noticed with these DIY Business Cards


Whether new in the business or on a tight budget, your company must never miss out on the opportunity to meet potential clients and grow its network by sending out business cards. If you’re lacking time, looking to save on costs, or are simply inspired, one option to print your business cards is to Do-It-Yourself (DIY).
We’ve searched the internet for ways on how to create DIY business cards that look professional, yet make people remember you. Here are a few fun and unique tips:
- Design Files
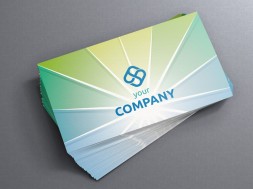
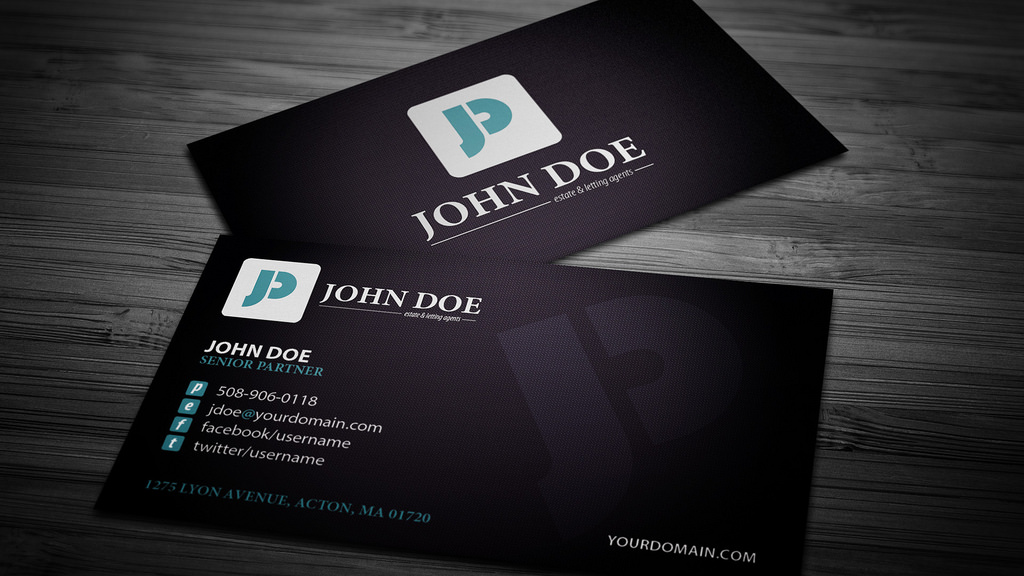
Before you start creating, sketch how you want the business card to look like. Will it be a standard 3.5 x 2 or a non-traditional choice like a square or hexagon? Microsoft Word and the internet are good sources to find various template designs. Choose your color, font, and overall design wisely as they should complement your brand. Like with any other business card style, carefully consider the amount of information you would like printed out. Make sure your business logo, name, contact details, and website address are on the card. Resist the urge to go overboard on text.
- The Essentials
The type of paper and printer you use are fundamental to the creation of any business card. Card stocks in a variety of finishes such as matte and glossy can be purchased from any local office supplies store. Meanwhile, make sure your desktop printer is working properly and full of ink or toner to guarantee a flawless printing process.
- What’s In Store
Designing these cards can be made easy with computer software such as Microsoft Word or Adobe Photoshop. Microsoft Word card templates are simple to use as you just need to input your information on designated fields.
If you’ve created a design using Photoshop, save it as an image file. Using Word or Microsoft Publisher, open your file and create duplicate copies on your selected sheet size depending on how many will fit. After that, save and print!
- Printing
One of the most common errors in printing business cards is when the ones on the bottom are cut off due mostly to printer document feeder misalignment. Know which side of the paper to print on, fan them out (to avoid sticking), and always do a test run before printing a big batch. Some adjustments with sizing and margins may be necessary, so tweaking the document is vital.
- Get Creative
A great advantage to DIY business cards is that you can unleash your creative side! A few ideas are:
- Spray-painted Cards – Add a pop of color to a stack of printed cards by spray painting all sides.
- Watercolor – If you find that your newly printed cards need some hues, try brushing watercolor paint on them or doing an ombré
- Fabric Material – Add prints and a tactile element to your card by gluing pieces of fabric onto the back of your business card.
- Stamp It – Combine your love of crafting with your design by stamping your logo or name into the printed cards. Try different colored inks for a vibrant touch.
- Zigzag Edges – Buy pinking shears from a craft supplies store and cut away at the edges of the card to create a zigzag effect. Make sure to allocate enough space along the edges to be cut proportionately.
Would you be bold enough to DIY your business cards? We hope that these quick and creative fixes can help you add both a unique personality and professionalism to your cards. If you have neither the time nor the design chops to DIY, you can always rely on your trusted print service provider to have them professionally printed.